WWII: Maginot Line | Normandy | V-Weapon Sites | Arnhem
Further afield: Crete
| Home Tracing Military Ancestors Travel Advice CWGC Cemeteries Iron Harvest News Book Reviews Glossary Links Contact Me The Somme:
 
|
The PlanThe Battle of the Somme was a direct result of the Chantilly Conference of 6th December 1915, in which the French Commander-in-Chief, General Joffre, obtained British agreement to a major offensive in 1916 which would pave the way for victory. The point chosen was where the British and French front lines met, just north of the River Somme in Picardy. The centre of the attack would be the low ridge running from Guillemont, bisecting the Albert-Bapaume road at Pozičres and passing through Thiepval before running down to the River Ancre, to the north-east of Albert.
It was originally envisaged that the French Army would play the leading role, but the German offensive against Verdun in February 1916 and the subsequent decision to hold the town at all costs, meant that the British would now have to play the leading role. It would be the biggest offensive of the trench war to date. But as the Allies made their preparations, the first cracks in the plan appeared. Field Marshal Sir Douglas Haig, Commander-in-Chief of the British Expeditionary Force, issued a general directive, which called for a massive all-out assault to capture the German first line defences between Serre in the north and Montauban in the south on the first day. Subsequent operations to break the German second line would then provide the opportunity of exploitation by cavalry and a war of movement could then ensue. Lieutenant-General Sir Henry Rawlinson, whose Fourth Army was to undertake the offensive, had other ideas. He was more pessimistic of the chances of such a clear breakthrough and was in favour of a "bite and hold" approach – bombardment of enemy trenches, capture by infantry assault and then defence of the trench against the inevitable enemy counter-attack. The differing doctrines of the two key British commanders on the Somme were never resolved. Indeed they were amplified by Rawlinson's advice to his Corps commanders that infantry should advance steadily in lines because of his lack of faith that the "new army" divisions of volunteer troops could master anything more complex. This led to confusion further down the chain of command and rigid battle tactics totally unsuited to the local situation.
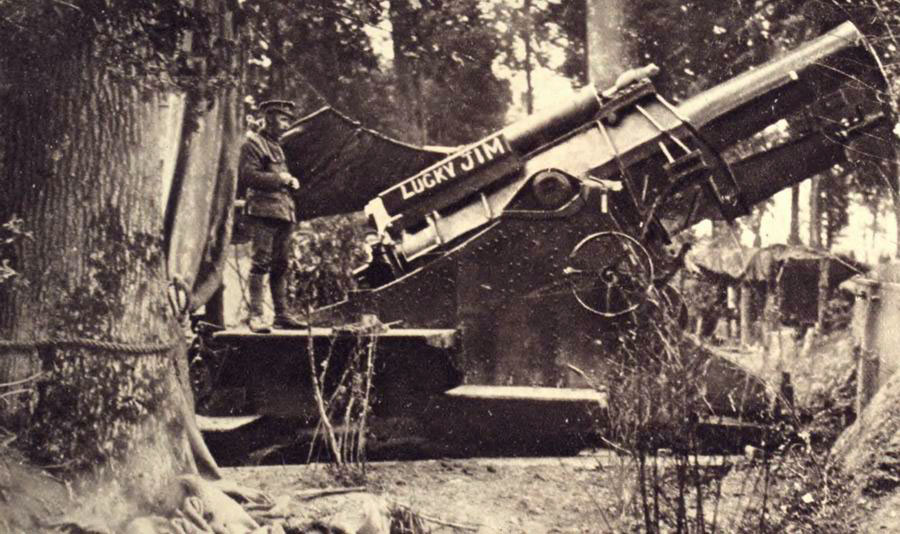
Both Haig and Rawlinson placed enormous faith in the power of the British artillery to compensate for their men's lack of experience. Altogether 1,537 guns were brought up to commence a week-long bombardment prior to the men going over the top. It would be the largest such bombardment of the war thus far, with an incredible 1.7 million shells fired at the German defences. Yet, this faith was misplaced. Since settling into their positions in 1914, the Germans had taken advantage of the chalky Picardy soil to excavate numerous deep dugouts and tunnels to protect their men against just such a bombardment. Further, only a third of the guns were of the heaviest calibre, delivering the high explosive necessary to penetrate the deep dugouts. Of the remainder the majority were eighteen-pounder field pieces firing shrapnel – useless against enemy dugouts and of only limited effectiveness against barbed wire. Of the shells themselves, it has been estimated that up to a third may have been "duds". As the day of the attack approached, however, optimism was high. Those who witnessed the huge bombardment wondered how anything could live through such devastation. The Germans, safe within their dugouts, were certainly cowed and shaken by the power of the guns but they were alive and when the bombardment finally ended on the early morning of 1st July 1916 they were ready and waiting.
|