WWII: Maginot Line | Normandy | V-Weapon Sites | Arnhem
Further afield: Crete
| Home Tracing Military Ancestors Travel Advice CWGC Cemeteries Iron Harvest News Book Reviews Glossary Links Contact Me Ypres:
 
|
The Battle of Messines (June 1917)
Following the complete failure of the French General Robert Nivelle’s disastrous offensive in the Champagne region in April 1917, the French Army became terribly disillusioned and began to mutiny. To divert attention from their sector and give the French time to recover, General Haig, Commander in Chief of the British forces on the Western Front, agreed to a major offensive around Ypres. He aimed to knock the Germans off the high ground once and for all and, perhaps, even turf the German Army out of Flanders and end the threat to the Channel Ports. Haig had become convinced that more aggressive offensive action for successive but limited objectives could break the trench stalemate – a view reinforced by the spectacular capture of Vimy Ridge in April 1917. He planned to use the British Second Army, under the command of General Plumer, to deliver the first of two blows to the German line – one south of Ypres to take the Messines Ridges and the second to the north-east to wrest the Passchendaele Ridge from the enemy (Tour Guide – "Bayernwald" German Trenches, Croonaert Wood”).
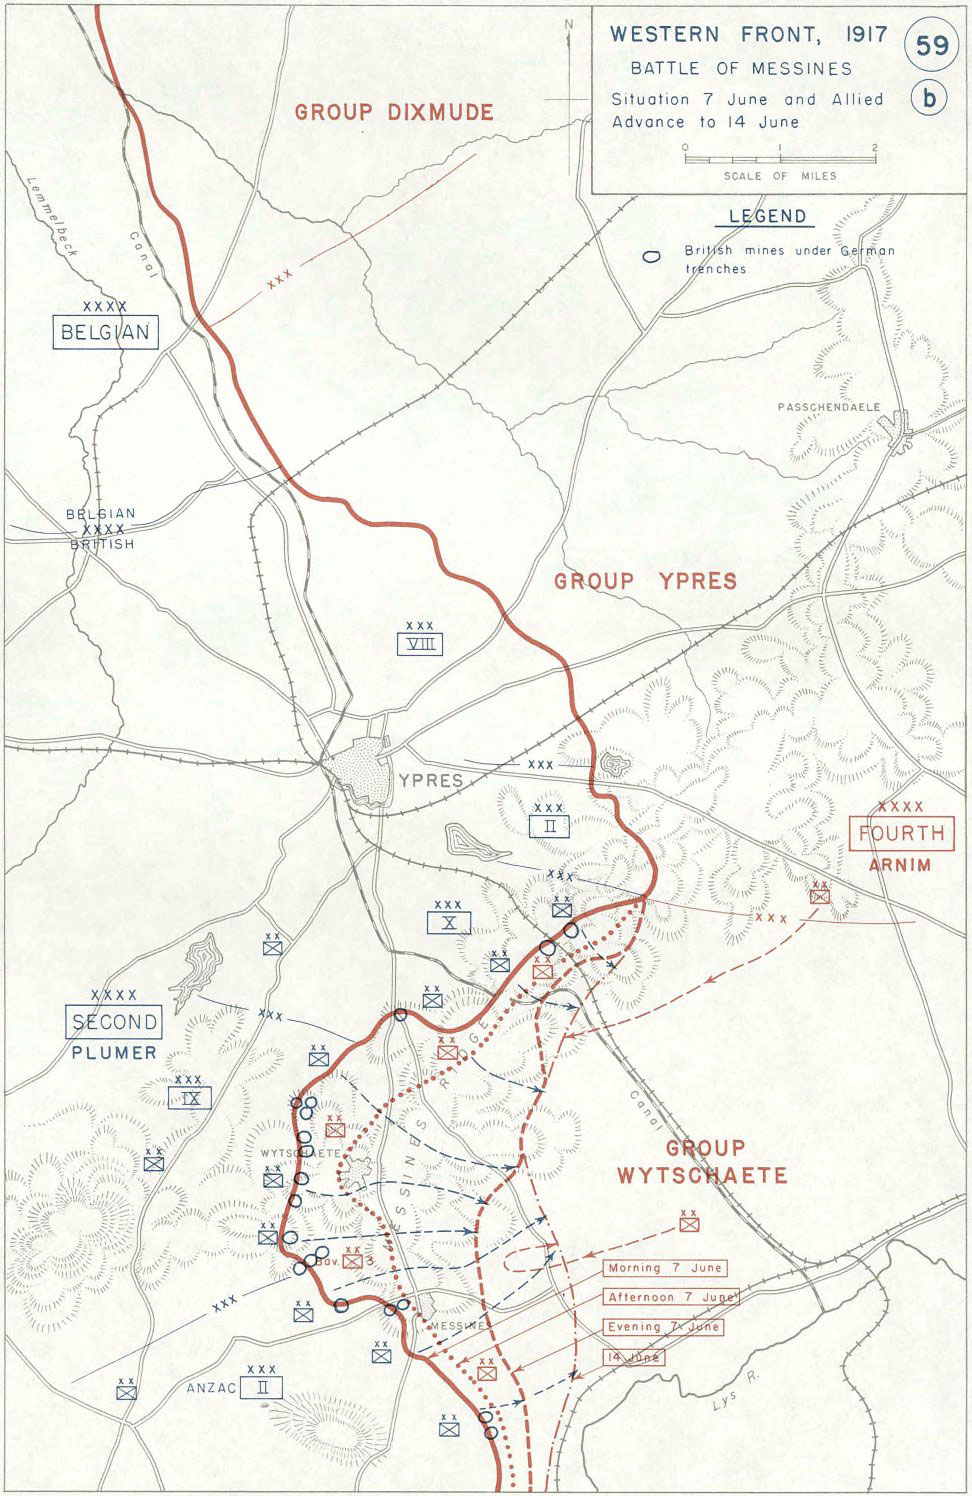
Plumer’s preparations for the attack on the Messines Ridge were meticulous. He planned to launch ten divisions, supported by 2,230 guns and howitzers, 700 machine guns, 428 mortars and 70 tons of gas shells to smother the ridge in one bold move. But the most dramatic part of the plan, and the key to success, was the use of explosive mines. Mining was not a new element of trench warfare – Vimy Ridge, the Chemin des Dames and the Somme region, had all witnessed mining operations by both sides. The usual practice was to dig a tunnel under no-man’s land and excavate a gallery under the enemy’s front line. Very often these galleries were dug under major strongpoints that might impede attacking infantry. The galleries were then filled with explosive and detonated to coincide with the start of the attack. What was different about Messines Ridge was the sheer scale of the mining operation. First started in 1916, twenty-two were dug by specialist tunnelling companies of the Royal Engineers. The Germans discovered one in August 1916, but the remainder escaped enemy scrutiny and, packed with nearly a million pounds of ammonal high explosive, they were ready for the start of the Messines offensive.
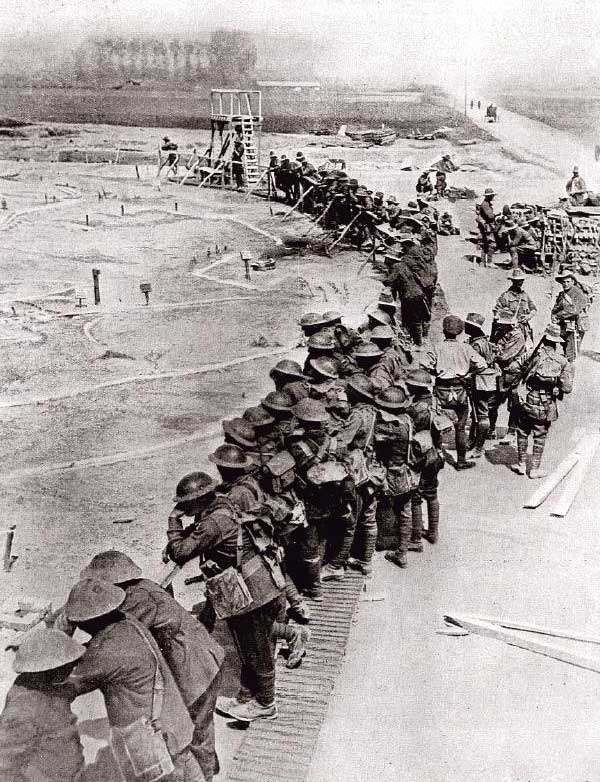
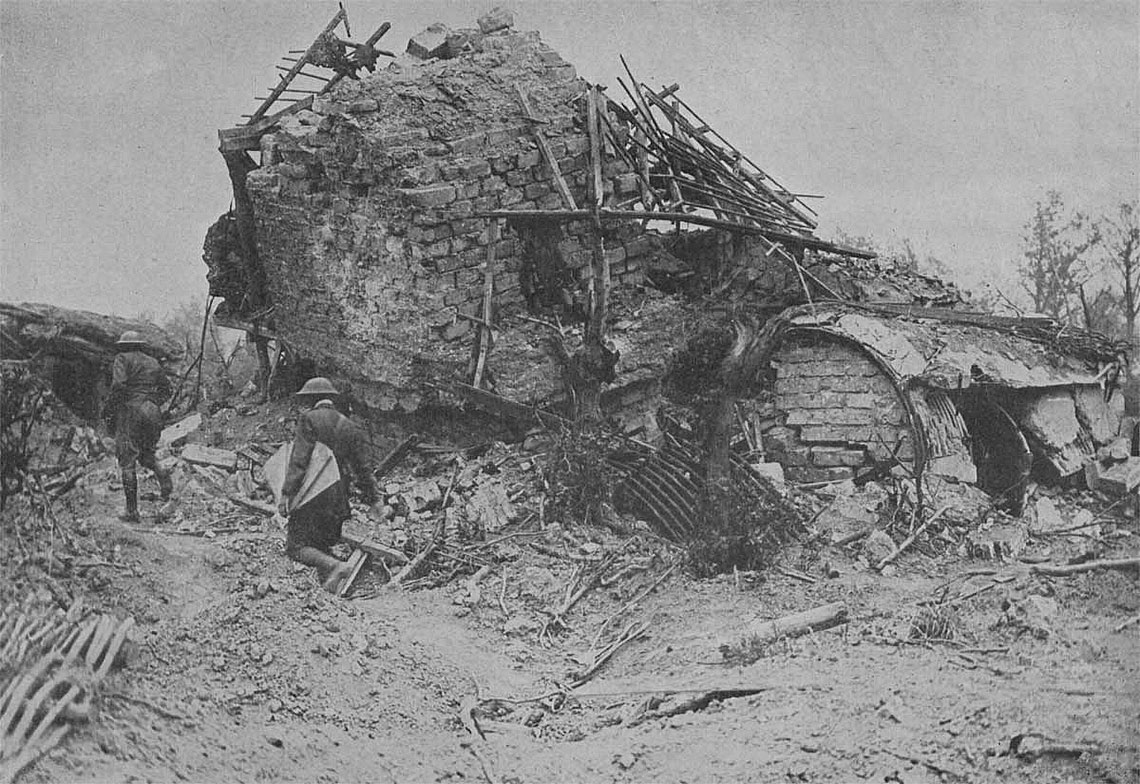
It began on 1st June 1917 with an intense and prolonged preparatory artillery barrage. It lasted for a week. Then at precisely 3:10am on the morning of the 7th June, the mines were detonated (Tour Guide – Hill 60). The greatest sound in military history up to that point reverberated around the Salient, across Flanders and even over the English Channel. As the boiling, bubbling plumes fell back to earth, the British artillery opened up a massive bombardment, hitting the German front line and then moving to the rear areas. One hundred thousand British, Australian and New Zealand infantry followed, crossing no man’s land with few casualties. The Germans that hadn’t perished in the initial blasts were dazed and panic-stricken. Resistance was light. By the end of the day, the two ridge-top villages Wytschaete and Messines had been overrun and, by nightfall, the whole ridge was in British hands (Tour Guide – New Zealand Memorial Park). The southern heights had been captured and attention now turned to the north, to Passchendaele… |